 +8801991898978
InkJet Printer Spare
Showing 1–16 of 28 results


The Ultimate Guide to Inkjet Printer Spare Parts: Everything You Need to Know
Inkjet printers are a staple in both home and office settings, prized for their ability to produce high-quality prints with vivid colors and sharp detail. However, like all technology, these printers are composed of many moving parts that can wear out or fail over time. When this happens, knowing how to replace inkjet printer spare parts can save you money and extend the life of your printer. In this comprehensive guide, we’ll delve into the essential inkjet printer spare parts, how to identify when they need replacement, and tips on choosing the right parts for your printer.
Understanding Inkjet Printers: A Brief Overview
Before diving into spare parts, it’s essential to understand the basics of how an inkjet printer works. Inkjet printers operate by spraying tiny droplets of ink onto paper to form text and images. The print head moves back and forth across the paper, controlled by a motor and belt system. Ink is stored in cartridges, which are connected to the print head.
The quality of the printout depends on the precision of these components, as well as the type of ink and paper used. Over time, these parts can wear out, leading to a decline in print quality or even printer malfunctions.
Common Inkjet Printer Spare Parts
Several components within an inkjet printer may need replacement during the printer’s lifespan. Here’s a closer look at the most common inkjet printer spare parts:
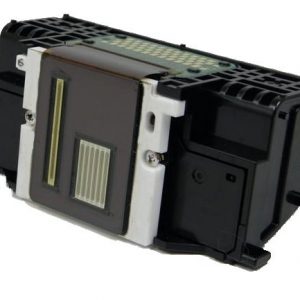
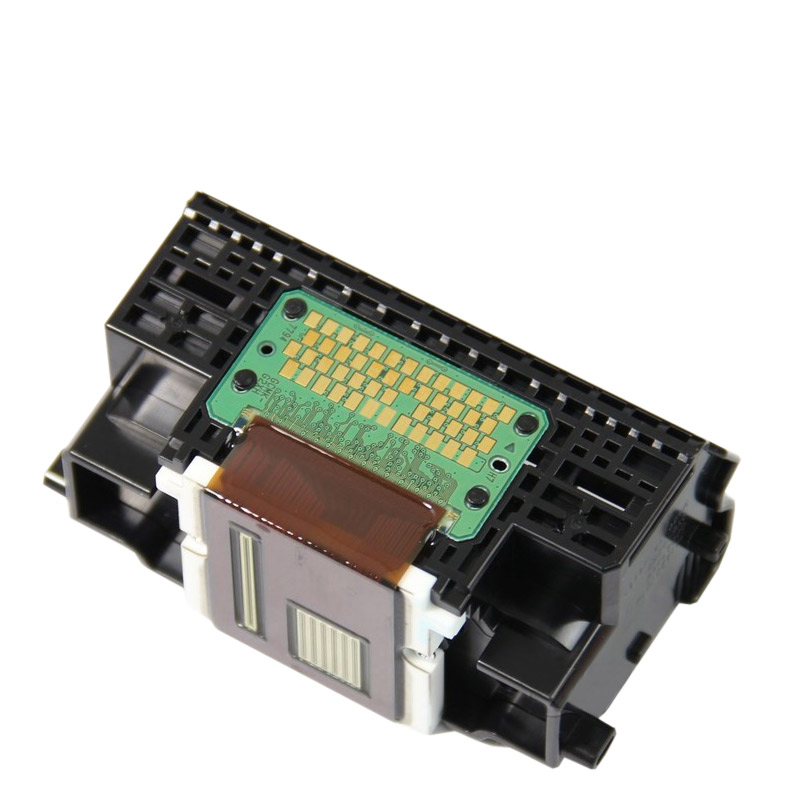
1. Print Head
The print head is the heart of an inkjet printer. It contains tiny nozzles that spray ink onto the paper. Over time, print heads can become clogged or damaged, leading to streaks, smudges, or missing colors in printouts. In some printers, the print head is built into the ink cartridge, while in others, it’s a separate, replaceable component.
Signs You Need to Replace the Print Head:
- Persistent streaks or lines on printouts.
- Missing colors or faded prints, even after cleaning the print head.
- The printer displays an error related to the print head.
Tips for Replacing the Print Head:
- Always refer to the printer’s manual to ensure compatibility when purchasing a replacement print head.
- Follow the manufacturer’s instructions for installation to avoid damage.
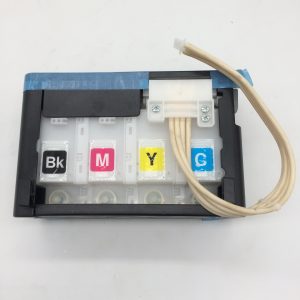
2. Ink Cartridges
Ink cartridges are the containers that hold the ink used by the printer. They come in various colors, including black, cyan, magenta, and yellow. Over time, cartridges run out of ink and need replacement. Some printers use individual cartridges for each color, while others use a single cartridge that contains all colors.
Signs You Need to Replace Ink Cartridges:
- The printer displays a low ink warning.
- Colors appear faded or incorrect on printouts.
- The printer refuses to print and indicates a cartridge issue.
Tips for Replacing Ink Cartridges:
- Always use cartridges designed for your specific printer model to ensure optimal performance.
- Consider using high-capacity cartridges if you print frequently, as they offer more ink and a lower cost per page.
3. Maintenance Kit
A maintenance kit contains various parts that help keep your printer in good working condition. It typically includes items like cleaning rollers, waste ink absorbers, and lubrication for moving parts. Regular maintenance using these kits can prevent common problems like paper jams and ink smudges.
Signs You Need a Maintenance Kit:
- Frequent paper jams or feeding issues.
- Excessive ink smudging on printouts.
- The printer displays a message indicating it’s time for maintenance.
Tips for Using a Maintenance Kit:
- Schedule regular maintenance sessions according to your printer’s manual.
- Replace parts as needed, and don’t ignore early warning signs of wear and tear.
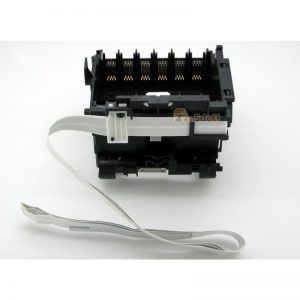
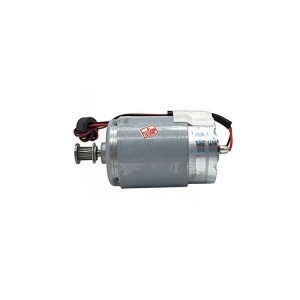
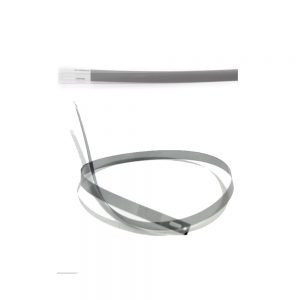
4. Belt and Motor Assembly
The belt and motor assembly controls the movement of the print head across the paper. The belt can wear out or break, causing the print head to move erratically or not at all. The motor, which drives the belt, can also fail over time.
Signs You Need to Replace the Belt and Motor Assembly:
- Unusual noises during printing.
- The print head doesn’t move or moves inconsistently.
- The printer displays a motor or belt-related error.
Tips for Replacing the Belt and Motor Assembly:
- This is a more complex repair that may require professional assistance.
- Ensure the replacement parts are compatible with your printer model.
5. Paper Feed Rollers
Paper feed rollers are responsible for pulling paper from the tray into the printer. Over time, these rollers can wear out or become dirty, leading to paper jams or feeding multiple sheets at once.
Signs You Need to Replace Paper Feed Rollers:
- Frequent paper jams.
- The printer pulls multiple sheets of paper at once.
- The printer fails to pick up paper from the tray.
Tips for Replacing Paper Feed Rollers:
- Clean the rollers regularly to extend their lifespan.
- If cleaning doesn’t resolve issues, replace the rollers with compatible parts.
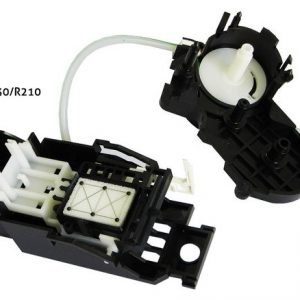
6. Waste Ink Absorber
The waste ink absorber collects excess ink that is ejected during print head cleaning or other maintenance tasks. When the waste ink absorber is full, the printer may display an error and stop printing.
Signs You Need to Replace the Waste Ink Absorber:
- The printer displays a message indicating the waste ink absorber is full.
- Ink starts leaking inside the printer.
Tips for Replacing the Waste Ink Absorber:
- This part is usually located deep within the printer, so replacement can be challenging.
- If you’re uncomfortable with this repair, consider taking the printer to a professional.
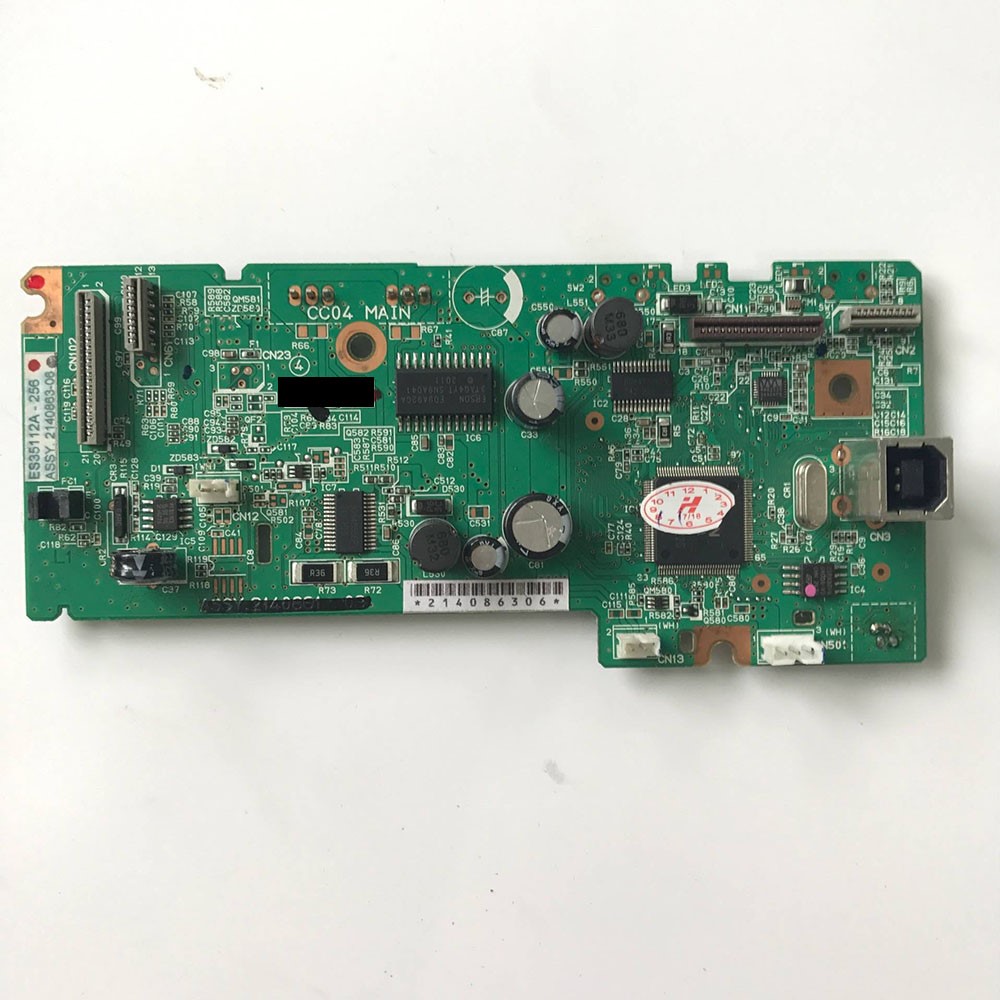
7. Power Supply Unit
The power supply unit provides electricity to the printer. If the power supply fails, the printer won’t turn on or may shut off unexpectedly during use.
Signs You Need to Replace the Power Supply Unit:
- The printer won’t turn on.
- The printer shuts off randomly during printing.
- You hear a humming noise from the power supply area.
Tips for Replacing the Power Supply Unit:
- Always unplug the printer before attempting to replace the power supply.
- Ensure the replacement power supply is rated for your specific printer model.
8. Cables and Connectors
Cables and connectors link various components within the printer, as well as connect the printer to your computer or network. These parts can wear out, become loose, or suffer from electrical interference over time.
Signs You Need to Replace Cables and Connectors:
- The printer loses connection to your computer or network frequently.
- The printer doesn’t respond to print commands.
- Physical damage to cables or connectors is visible.
Tips for Replacing Cables and Connectors:
- Use high-quality cables to reduce the risk of electrical interference.
- Ensure all connections are secure before replacing cables.
How to Choose the Right Spare Parts for Your Inkjet Printer
Selecting the right spare parts is crucial for ensuring your inkjet printer continues to perform optimally. Here are some tips to help you make the right choice:
1. Know Your Printer Model
Before purchasing any spare parts, you need to know your printer’s make and model. This information can usually be found on a label on the back or bottom of the printer. Different models use different parts, so it’s essential to get the correct ones.
2. Buy from Reputable Sources
When buying spare parts, choose reputable suppliers or the printer manufacturer to ensure you’re getting genuine, high-quality components. Counterfeit or low-quality parts can damage your printer and void the warranty.
3. Check Compatibility
Even within the same brand, different models may use slightly different parts. Always double-check the compatibility of the spare part with your printer model before purchasing.
4. Consider the Cost vs. Replacement
Sometimes, the cost of replacing several parts may approach the cost of a new printer. In such cases, it might be more economical to replace the entire printer, especially if it’s an older model.
5. Read Reviews and Ratings
If you’re buying from a third-party supplier, read reviews and ratings of the spare parts to ensure they perform well and are reliable.
Tips for Maintaining Your Inkjet Printer
Regular maintenance can extend the life of your printer and reduce the need for spare parts. Here are some tips to keep your inkjet printer in top condition:
1. Clean the Print Head Regularly
To prevent clogs, clean the print head according to the manufacturer’s instructions. Many printers have a built-in cleaning function that you can run from the printer’s menu.
2. Use the Printer Frequently
Using your printer regularly keeps the ink from drying out and the print head from clogging. Even if you don’t need to print often, running a small print job every week can help maintain the printer.
3. Keep the Printer Dust-Free
Dust can accumulate inside the printer and on the rollers, causing jams and other issues. Keep your printer in a clean, dust-free environment, and use a soft cloth to wipe down the exterior regularly.
4. Use High-Quality Ink and Paper
Using high-quality ink and paper reduces the risk of clogs and jams. Cheap, low-quality materials can leave residue in the printer, leading to more frequent maintenance issues.
5. Replace Parts as Needed
Don’t wait until a part completely fails to replace it. If you notice signs of wear and tear, replace the part early to avoid more significant problems later on.
Conclusion
Inkjet printers are complex devices with many moving parts, each playing a critical role in producing high-quality prints. By understanding the common inkjet printer spare parts, recognizing when they need replacement, and choosing the right parts, you can keep your printer running smoothly for years. Regular maintenance and careful use